When I travel, I like to take photographs. I enjoy taking both holiday snap type shots as a record of places I’ve visited, and also “proper” photos of particularly interesting sights. For the last 10 years or so, I used a Canon 1Ds II for anything special, and a succession of Canon pocket-sized cameras for general snaps, but this year was time for a change!
Camera Upgrade
After 10 years of service, I decided it was time to retire my trusty old 1Ds II, and upgrade to a new camera. I had really enjoyed using my 1Ds over the years, but it was big and HEAVY. While at times I really appreciated the hewn-from-rock build of the 1D series, I really wanted something slightly smaller and lighter but with the best image quality I could get – something that would hopefully see me through the next 10 years.
So when Canon announced the new Canon 5DS R earlier this year, I got my name down and took delivery of one of the first batch in June 2015. There are loads of reviews out there that analyse the specification and output quality, so I won’t dwell on that here. Suffice to say though that the quality is outstanding, although you do need to take care when taking the photo to make sure everything is spot-on. Probably the biggest criticism I’ve seen is regarding high ISO performance, however most of the time I use the camera on a tripod, so this isn’t really a big deal for me. It’s better than I’m used to with my 1Ds II, so while I know it is an issue for some, I’ve not found it to be a problem.
I also wanted to take advantage of the latest in lens technology, so while my 10 year old 24-70mm f2.8 L was still giving fantastic results, I really wanted something a bit smaller and lighter, with IS as well. The Canon 24-70mm f4 L IS fitted the bill perfectly, and is the ideal companion to the 5DS R.
I’m not really a big fan of in-depth comparisons of equipment, analysing each pixel, however I was curious to see how the two 24-70 lenses compared. I took some shots using both lenses at the same settings, and in general both faired equally well. The 10 year old f2.8 model was sharper in certain areas of the frame, but was beaten by the newer f4 lens in other areas so in terms of ultimate image quality, neither stood out as being best overall. From reviews I’ve read, the Mk II version of the f2.8 lens is meant to be better, however I didn’t want to spend the considerable extra money and have to carry the additional weight.
Big Pockets Required
I also added a Sony RX100 Mk III to my collection, which has now mostly taken over from my Canon Powershot S95 in pocket-sized camera duties. I’d seen a lot of really glowing reviews of the previous versions of the RX100, and had been tempted by the Mk III version for a while, but was always put off by the price. However after months of contemplating it, I finally bit the bullet and ordered one. While I’ve always been happy with my Canon cameras, I always like to get the best quality out of the camera I have, and the Sony manages to pack a much larger sensor into a camera that is not a huge amount bigger than the Canon. It also has a bigger lens, a panoramic mode and lets me send photos to my iPhone via WiFi (relatively) quickly and easily.
I would say though that the Sony is just about on the limit of being pocket sized. The height and width is similar, but the lens makes it considerably thicker than the Canon which makes it difficult to slip into your trouser pocket. As it is relatively expensive as a Point and Shoot camera, I wanted to keep it protected and after a bit of trial and error at PC World found that the Lowepro Tahoe 15 II case was a perfect fit, and doesn’t add too much bulk to the camera.
Which Laptop
Until recently, I’ve never bothered doing any photo editing on the road – I’ve always returned home with a case full of memory cards and worked on them there (often weeks or months later!). However when I was planning my road trip to Tuscany, I wanted to be able to at least download some of my shots during the evening, do minor editing and then upload to Facebook. My ancient Macbook Pro wasn’t really up to the task, so I needed to upgrade it. I use a Mac Pro at home, so needed to stick with Apple, thus the choice was between the Macbook Air, Macbook Pro Retina and the new Macbook 12″.
I ruled out the Macbook Air as I really wanted the Retina screen, and after some consideration and comparing the two at the Apple Store, I decided to go for the new 12″ Apple Macbook, rather than the 13″ Macbook Pro Retina. This was a tough decision, but I decided that ultimately, the size and weight advantage of the Macbook was more important for me than the better performance and power of the larger Macbook Pro.
I was slightly concerned that it wouldn’t be up to the task running Lightroom and editing 50MB photos from my Canon 5DS R, however I had a trial run at home and it was actually a lot better than I expected. OK, it’s obviously not as quick as my 6-core Mac Pro, but it’s more than usable.
I love the light weight and small size of the Macbook, and I also like the keyboard, although it does seem to be a bit “Marmite” and people either love it or hate it. Battery life lives up to Apple’s claims, although if you start doing anything particularly CPU intensive like photo editing it does burn through the power noticeably more quickly. For general use like browsing Facebook and writing blog articles (such as this one I’m writing on it), the quoted 9 hours of battery life is definitely achievable.
Performance is adequate rather than outstanding, but you don’t really notice the slow CPU speed when doing things like browsing the internet, watching YouTube videos or writing blog articles. Certain websites like Facebook which feature lots of rich-content like embedded videos and graphics can become slightly sluggish when you try to scroll through them quickly, but generally it’s not really noticeable.
As I was going to be taking the Macbook on my travels, I wanted a case to protect the lovely aluminium finish, but without adding too much bulk or weight. After a fair bit of time researching different options, I decided on the Snugg case, which I’m really happy with. It’s the perfect size, does a good job at protecting the Macbook, and even has a handy notch that means you can charge the laptop while in the case.
I also ordered a couple of other accessories – an Anker USB 3 SD card reader, and an Apple USB-C to USB adapter so I could connect my SD cards to the laptop. Both are very small so easy to tuck away when travelling, and the combination just works with no fuss.
Results
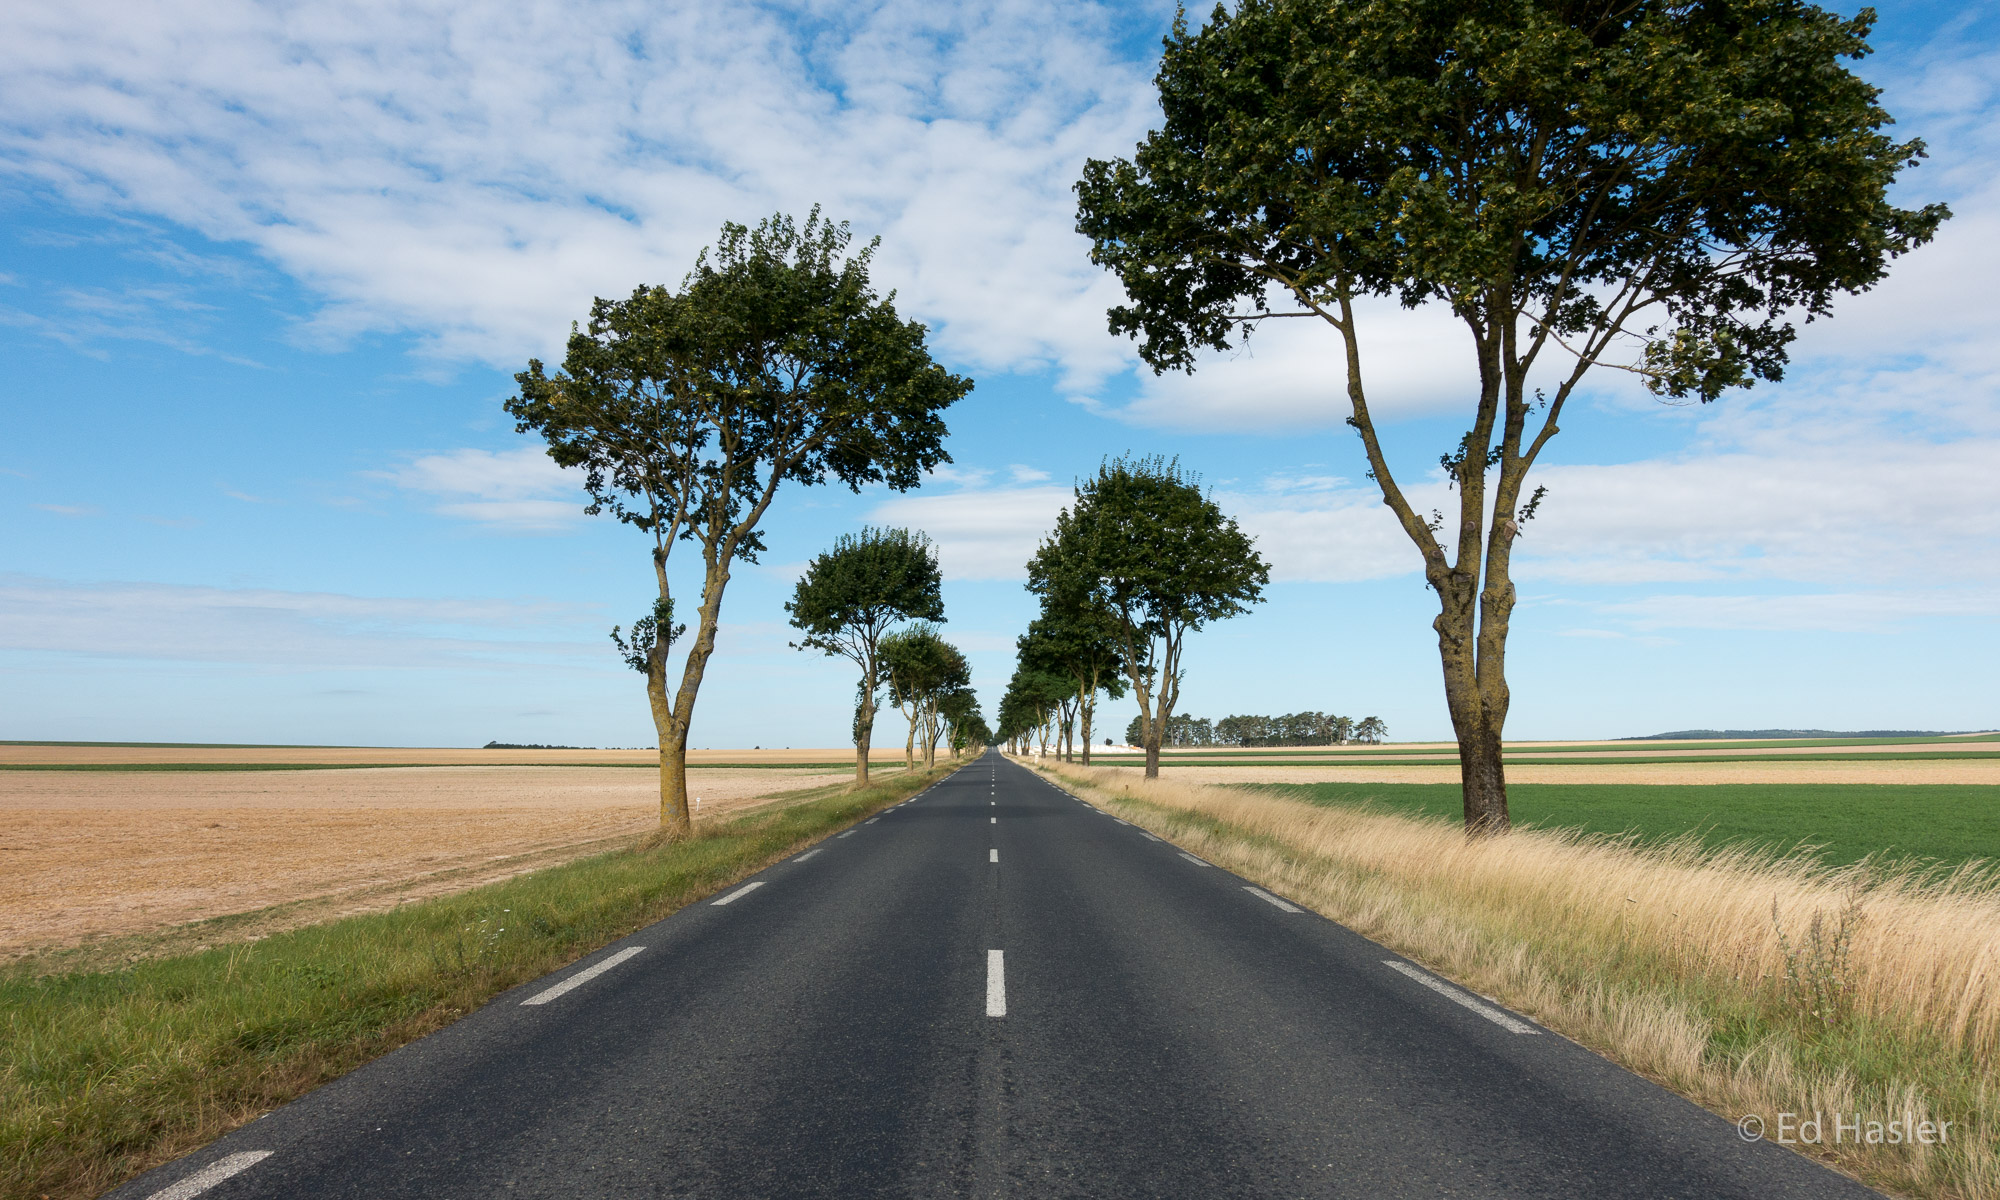
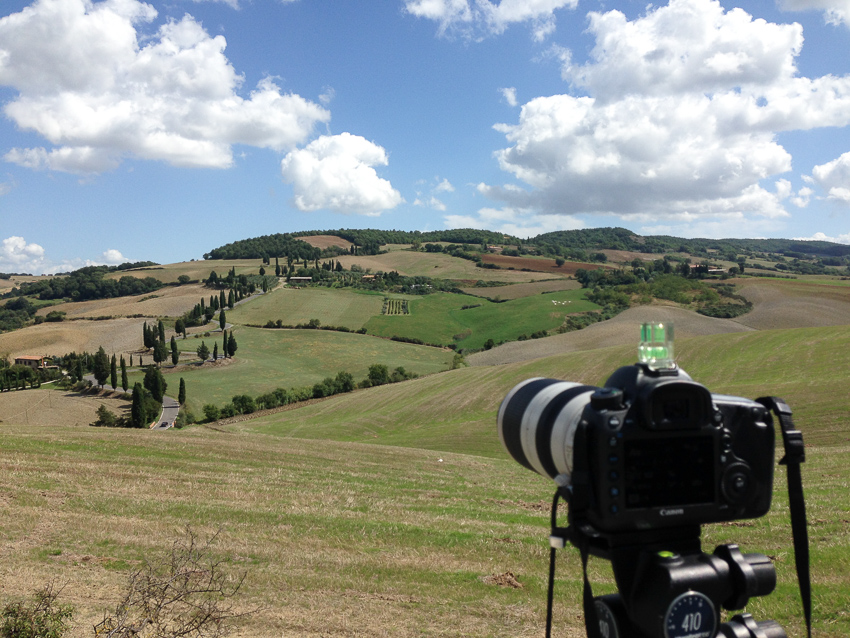
My first proper trip with both cameras was my road trip to Tuscany in September 2015. I took both cameras as I wanted the best of both worlds – a small camera to keep close by for photos of my trip, and also something for the landscape shots I wanted to take in Tuscany.
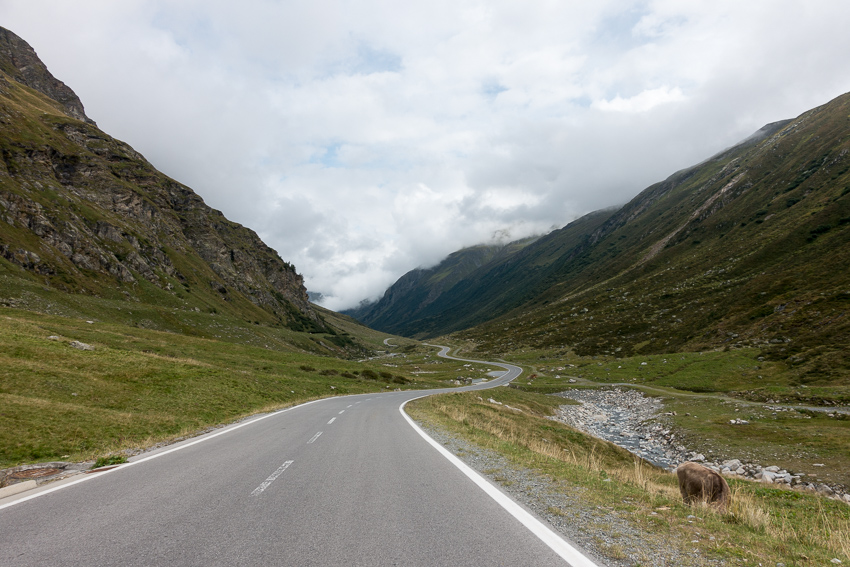
The vast majority of the images you can see on my blog article about the trip were taken on the Sony RX100, as it was always to hand and really easy to use. The image quality it produced was excellent too, with only minor processing of the RAW files being needed in Lightroom. With a 20MP image size, these are more than big enough for printing at normal sizes.
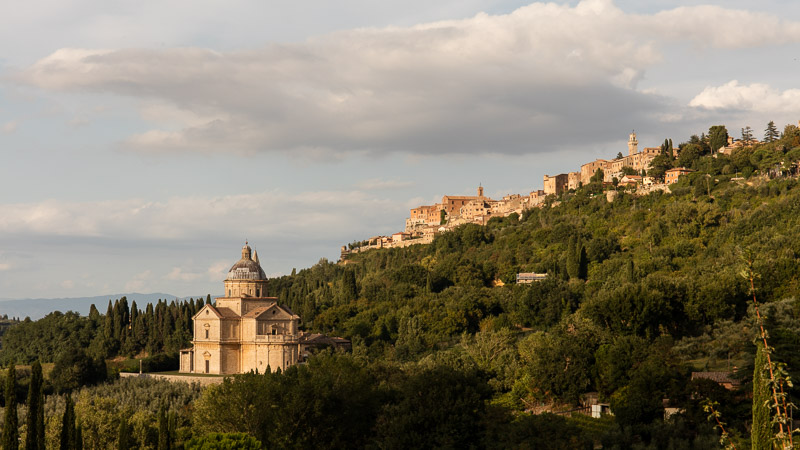
I used the Canon only a few times, as taking it out the camera bag, setting up the tripod and taking the shot took considerably longer than just grabbing the Sony and taking the shot. For the photos I did use it for, the quality was certainly outstanding, but if I’m honest unless I look really closely at the images zoomed in to 100%, there isn’t a huge difference to those from the Sony. Obviously if I’m producing very large prints then the difference will be obvious, but most of these photos will just be published on this blog so those extra 30 megapixels are rather wasted.
As such, this proves that the best camera is the one you have with you.